Home
Tutorials
Introduction
Foreword: this section finally presents a complete localization code. In earlier sections I tried to explain things, so I took a gradual approach, adding one trick in a time, and sometimes the resulting code was odd. Easier to understand, but not usable in a real world.
This section provides code that can be used for 2.5d localization in a real world, and Gazebo simulation confirms it.
Now back to Introduction.
So far our localization code only worked in a 2d world. This section fixes it.
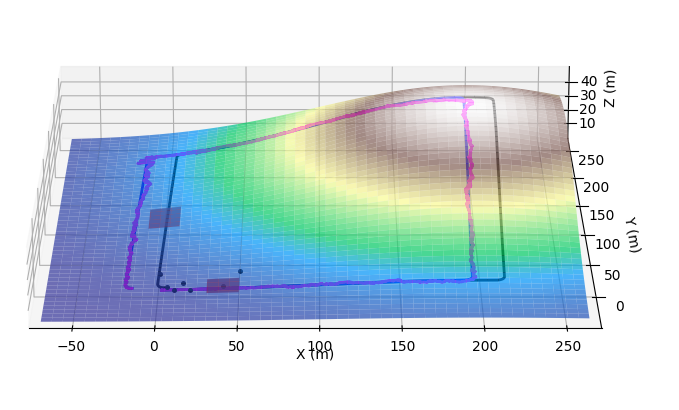
First of all, I am going to modify a "non-Gazebo" simulator to run in 3d: That will allow us to run simulations in a fast and convenient way, without solwing Gazebo puzzles in process.

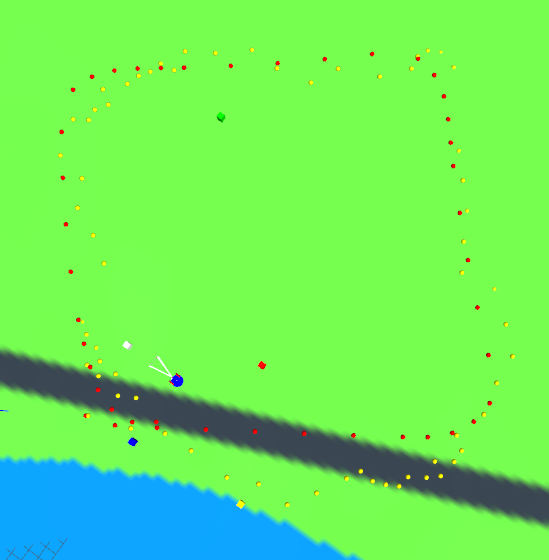
Then I am going to add a rather simple visualization tool to Gazebo, to draw the path of a robot as it travels 2.5d landscape. Ideally, I should have altered the texture, dynamically, by drawing robot's path on it. But it looks that either I am going something wrong, or Gazebo has a bug... So for now, I am going to settle for what in SLAM world is called "porcupine droppings": leaving breadcrumbs to mark the trajectory. This is not a good solution, but it will do for now:

Then I am going to run sensor fusion, making sure different combinations of sensors can work in a seamless way.
Please note that it is still a tutorial. In a real life you usually can add some tricks to make localization better, just because you know additional things about your particular system. For example (I am doing it in this section, but it still qualifies as a trick), if you have a topo map and you know your robot's x and y position from localization system, you can adjust z position from the map. There are many things like this.
Plus, in a real world, making ANY combination of sensors work is usually a bad, or at least, a strange thing to do. For example, often you would use compass to adjust gyroscope readings... without asking yourself a question "what if gyroscope is not available". But it is a tutorial, so let's do it hard way. ANY combination of sensors should work.